Nanoindenter
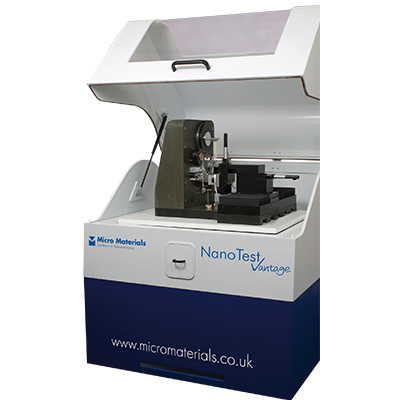
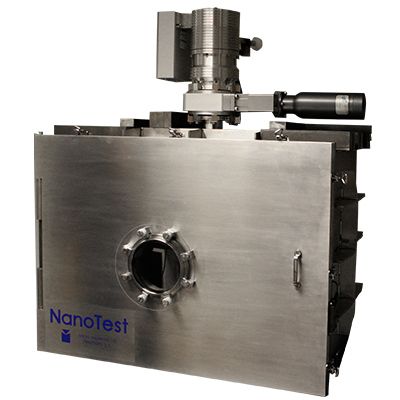
NanoTest Vantage from Micro MaterialsThe nanoindenter NanoTest Vantage is a comprehensive nanomechanical testing platform which provides a variety of different techniques such as nanoindentation/nanohardness testing as well as environmental options to simulate true service conditions and contact mechanics.
- Wide accessible loading range from 10 µN up to 30 N
- Various testing techniques besides standard nanoindentation to simulate variety of contact mechanics
- Unrivaled temperature range from -30 °C up to 750 °C
- Variation of environmental conditions to simulate true service conditions
Further information
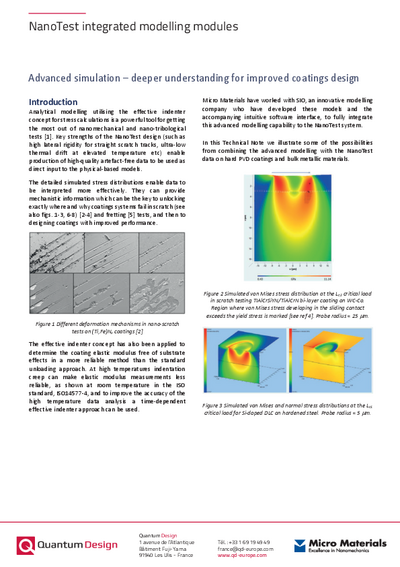
The NanoTest Vantage nanoindenter system is a universal platform for different methods to characterize the mechanical properties of surfaces and thin films. The modularity of the system allows both the combination of all the measurement modules and customizing the system to specific applications.
The base frame made of high stiffness granite together with new, high-resolution electronics, provides even more precise measurements with highest load and displacement resolutions at lowest drift rates. High precision measurements can now be performed even faster than before.
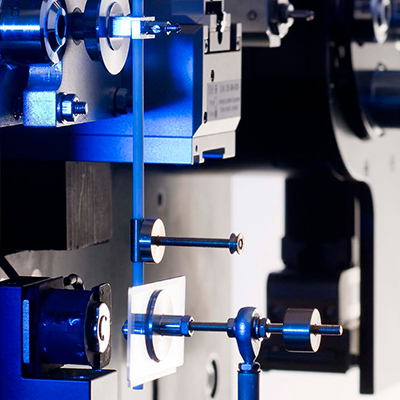
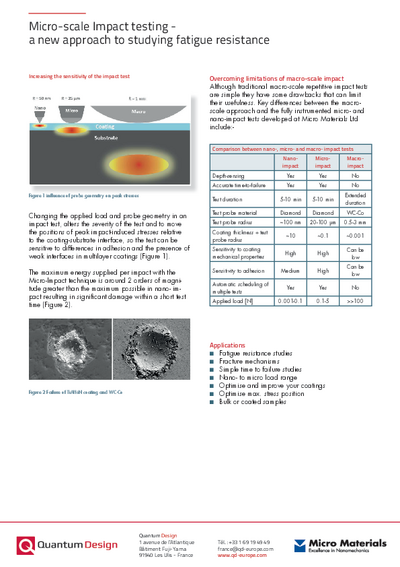
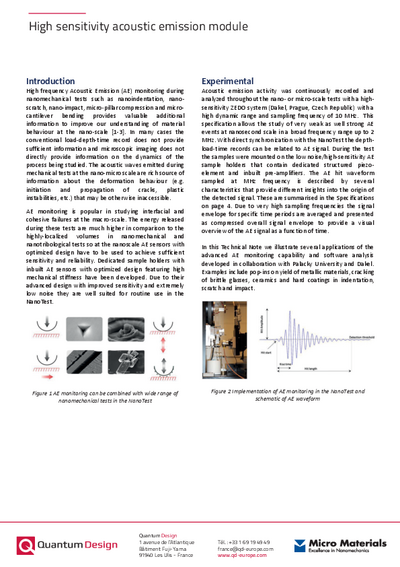
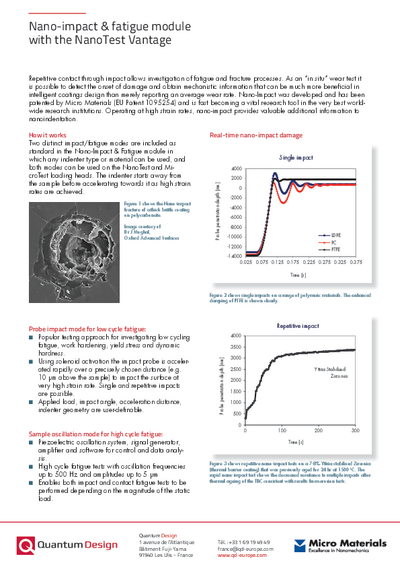
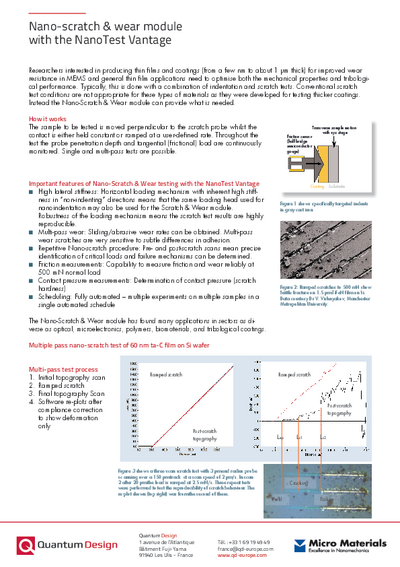
Two loading heads (alternatively or in combination) allow nano- and microhardness testing. The special pendulum design provides full modularity and excellent performance, both fully ISO 14577 and ASTM 2546 compliant. The nanoindenter NanoTest has the lowest drift rate of all instruments in the market, both at room and elevated temperature. This allows the application of a wide range of loading rates during the measurements. Besides the well known nanoindentation-technique, also other tests such as nano scratch and wear tests, nano-impact and fatigue for high strain rate testing as well as nano-fretting tests are available options and expand the accessible experiment window to simulate the contact mechanics in the final application.
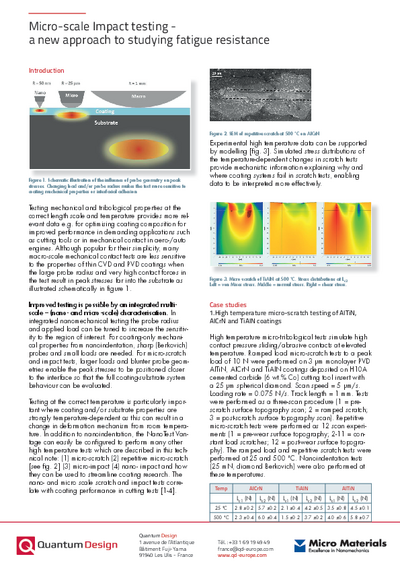
In addition, the variation of the environmental conditions is a key feature of this nanoindenter, which allows to perform tests under true service conditions. Micro Materials has been a leading manufacturer of high temperature nanoindenters and currently offers a temperature range from -100 °C up to 950 °C. Besides the temperature range, also tests in liquids, under controlled humidity and atmosphere as well as in vacuum are possible.
Among the many environmental options, the high temperature capability is one of the most outstanding features of the nanoindenter NanoTest. Ranging from cold temperatures down to -100 °C up to high temperatures up to 950 °C, materials actually can be tested at their true service temperatures. This is especially crucial for the performance of coatings used in unlubricated cutting applications due to the frictional heat. The horizontal system configuration in combination with the independent sample and tip heating offers a drift-free design, which results in drift-levels and data quality at elevated temperatures that are not achievable by any other competitive nanoindenter on the market. A purge chamber allows to measure in a controlled argon/nitrogen atmosphere to minimize oxidation. However when temperatures above 750 °C are needed, the NanoTest Xtreme offers vacuum-compatible solution, which allows to push the borders of high temperatures to higher levels.
Specifications
Loading range
- 10 µN – 500 mN Nano-Loadinghead
- 300 mN – 30 N Micro-Loadinghead
Measurement Options
- Nanoindentation / Nanohardness testing
- Microindentation / Microhardness testing
- Nano- und Microscratch tests with simultaneous friction measurement
- Nano- und Micro-Impact measurements
- Nano-Fretting with simultaneous friction measurement
Environmental Options
- High Temperature to 750°C
- Cold Temperature to -30°C
- Purge chamber for measurements in inert atmosphere
- Liquid cell
- Tribocorrosion cell (incl. Potentiostat)
- Humidity Cell
Temperature options include independent tip and sample heating to ensure isothermal contact.
Most of the measurement options are compatible with the environmental options.
Imaging Options:
- Multiple Objective microscope (5x, 10x, 20x and 40x)
- High temperature optics
- AFM – single and dual mode
- SPM – Imaging (compatible with Temperature options)
Applications
- Obtaining nanohardness & modulus with Nanoindentation according to ISO Standards by using the Oliver-Pharr method
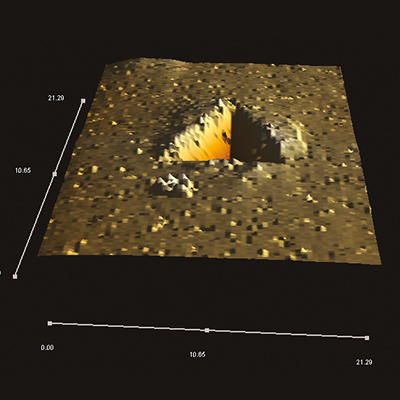
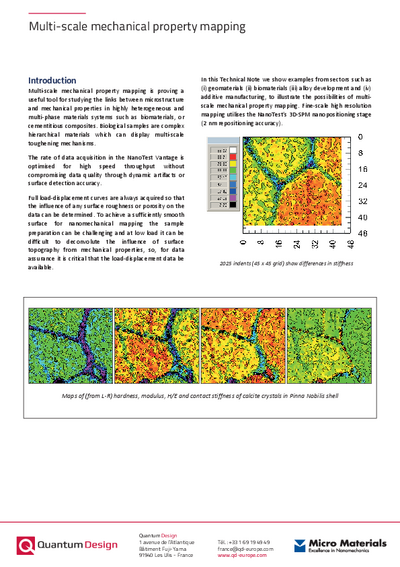
- 3D mapping of mechanical properties to display various phases/sample homogeneity
- Load-Partial-Unload Nanoindention for depth profiling of hardness and modulus
Downloads
Videos
Reference customers
"Different cast materials are investigated in the Nanotest Vantage equipment. We are doing mechanical investigation on Aluminium, Magnesium, Steel and Cast iron. The first publication was made on self-lubricating on flake graphite under wear conditions. The range of possibilities the equipment is offering was a factor when we bought the equipment. The different modules is a chance to upgrade the system in the future. The support and knowledge at Quantum Design is good."
- Toni Bogdanoff, Laboratory Engineer, School of Engineering, Jönköping University, Sweden
"We are using the NanoTest Vantage for the nano- and micromechanical characterization of graphite and other carbon based materials. The wide loading range as well as the variety of environmental options and testing techniques was the main factor for choosing the NanoTest Vantage. Looking back we very much appreciate the reliability of the system and the very fast response from Quantum Design with solutions in case of questions."
- Christian Hubert, GSI Helmholtzzentrum für Schwerionenforschung GmbH, Darmstadt, Germany
Contact

Navigation
Categories
Contact
Quantum Design SAS
Avenue de l’Atlantique
Bâtiment Fuji Yama
91940 Les Ulis
France
| Phone: | +33 1 69 19 49 49 |
| E-mail: | franceqd-europe.com |

